
Interactive HTML BOM Plugin for KiCad
November 29, 2021
Blog
KiCad is an incredible open source EDA package that I’ve been using since early 2020. Being able to design your own PCBs is quite useful, and I find the design process to be a lot of fun.
Of course, KiCad can’t do everything out of the proverbial box, but its abilities can be expanded through the use of software plugins. An official list of resources is available here, or this unofficial curated list may be more informative. One plugin that I’ve found especially useful (actually my only plugin as of this writing) is called Interactive HTML BOM. You can find a demo of how it work here.
Easily Show off PCB Design as a Web Page

Image Credit: Screencap
If you want to share your entire KiCad design, you can simply put the project up on GitHub or other hosting platforms, allowing others to open it up with KiCad on their machine. However, this presents a few inconveniences. First, viewing a design isn’t as simple as navigating to a web page, and there’s no components listing that visually points you to a selected item on your board. Additionally, you may prefer to share where items go on your board, along with a general outline, but not the entire design down to the trace level.

Image Credit: Screencap
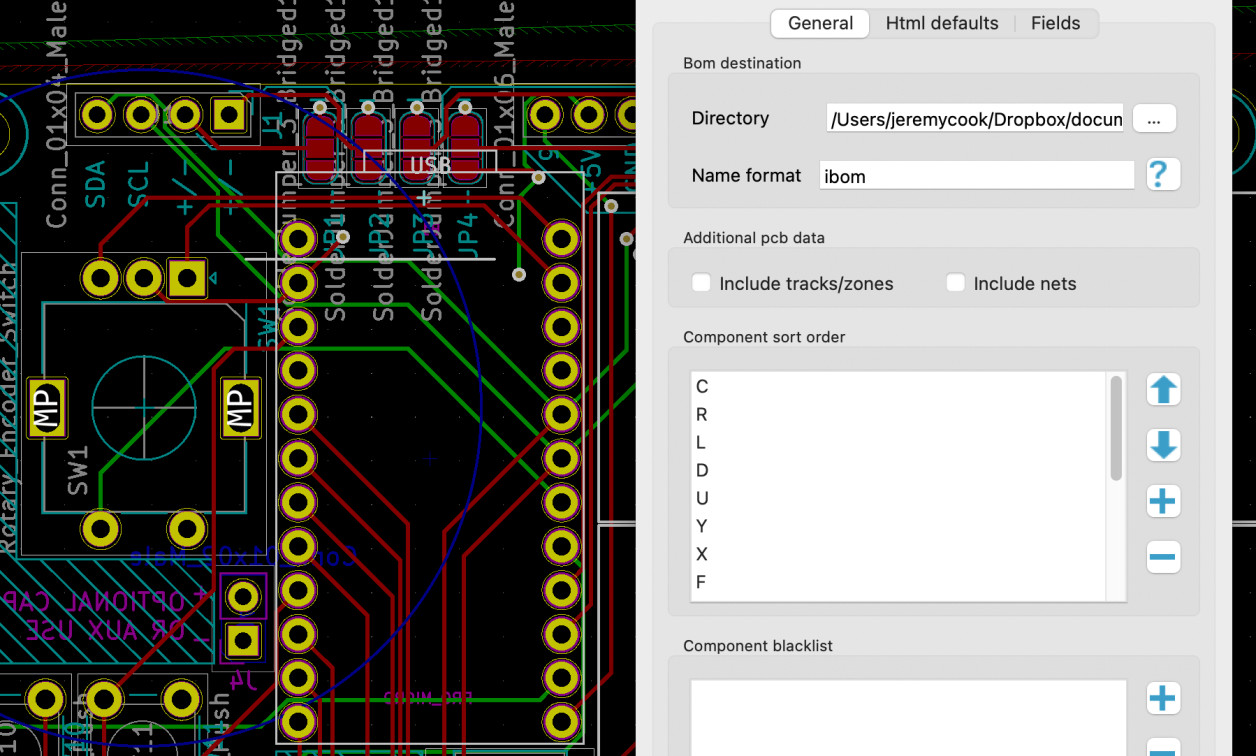
Interactive HTML BOM solves both issues. Once it’s installed, you simply hit the “FB” icon in Pcbnew, and click on Generate BOM. It then creates and opens a single self-contained interactive chart of your PCB as a local webpage, complete with components that are highlighted when you hover over a listing.
Interactive HTML BOM @kicad_pcb plugin is fantastic https://t.co/FeW1Eg4h4T pic.twitter.com/5E5FuPtk09
— Jeremy Cook ? (@JeremySCook) November 10, 2021
This is an excellent method to show others how to assemble your PCB, or, it could be used as an easy reference for yourself. Sharing it online is as simple as uploading and linking the generated HTML file, which I did here using GitHub/GitHub pages for my current JC Pro Macro 2 project.
Note that simply uploading it to a normal GitHub repository means it’ll simply show the text inside the file. You’ll want to instead set it up using GitHub Pages and link to it if you decide to go that route.
Plugins Easier in KiCad 6?
One complication about the process of using a plugin is that it takes a bit of yak shaving… or at least “yak research” to get going. The long and short of it is that once you find the proper directory, download the extension folder and plop it in.

Image Credit: Screencap
Once I figured out where to put the files, this particular extension just worked. Install instructions for Interactive HTML BOM are found here, and I had to go through the process of doing a search in the scripting console. The directory was within a hidden directory on my MacOS installation, which made things a bit more obtuse. It would seem that installing additional plugins would be easier with this knowledge.
That being said, I’m using version 5.16-0-10_14, not the cutting edge/work-in-progress 5.99. This new version, along with the upcoming KiCad 6 looks like it will have a much more developed system for installing plugins, and even expands on how they can be used. Add this to the list of things to look forward to somewhere around the new year!
Jeremy Cook is a freelance tech journalist and engineering consultant with over 10 years of factory automation experience. An avid maker and experimenter, you can follow him on Twitter, or see his electromechanical exploits on the Jeremy Cook YouTube Channel!


